


我正在嘗試在表格中進行垂直居中,但以特定組件為中心。我希望以通用的方式做到這一點,因為我透過演算法產生 LaTeX。
這是一個 MWE:
\documentclass[a4paper, 10pt]{scrartcl}

\usepackage{soul}
\usepackage[cm]{fullpage}
\usepackage{array}
\usepackage{tikz}


\begin{document}
\thispagestyle{empty}
\begin{center}

% Table for row 1, which has 2 columns.
%\begin{table}[h]
\begin{tabular}{>{\centering\arraybackslash}m{7cm}l>{\centering\arraybackslash}m{4cm}}
% SHAPE: rect
\parbox[c][4.4cm][c]{7cm}{\begin{tikzpicture}
% *** RECTANGLE FOR ROW 1, COLUMN 1 *******
\draw (0cm,0cm) -- (0cm,4cm) -- (7cm,4cm) -- (7cm,0cm) -- cycle;
\end{tikzpicture}
\center first}
 & \hspace{1cm} & % SHAPE: rect
\parbox[c][3.4cm][c]{4cm}{\begin{tikzpicture}
% *** RECTANGLE FOR ROW 1, COLUMN 2 *******
\draw (0cm,0cm) -- (0cm,3cm) -- (4cm,3cm) -- (4cm,0cm) -- cycle;
\end{tikzpicture}
\center second}
\\
\end{tabular}


\end{center}
\end{document}
生成這個:

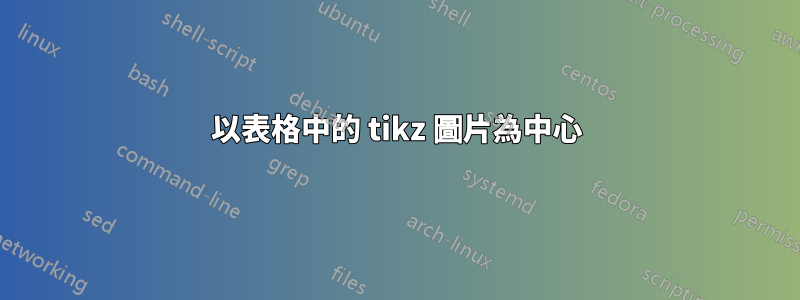
這樣做的目的是讓它垂直居中(我認為由於邊界框問題,它看起來並不完美)。
然而,我真正想要的是讓 tikz 框垂直對齊他們的居中,但文字仍直接懸掛在框下方,如上圖中所示。需要明確的是,我希望盒子像這樣垂直中間對齊(虛線只是為了引導眼睛):

答案1
像這樣:
\documentclass[a4paper, 10pt]{scrartcl}
\usepackage{soul}
\usepackage[cm]{fullpage}
\usepackage{array}
\usepackage{tikz}

\begin{document}
\thispagestyle{empty}
\begin{center}
% Table for row 1, which has 2 columns.
\begin{tabular}{>{\centering\arraybackslash}m{7cm}l>{\centering\arraybackslash}m{4cm}}
% SHAPE: rect
\begin{tikzpicture}
% *** RECTANGLE FOR ROW 1, COLUMN 1 *******
\draw (0,0) rectangle (7,4);
\draw [red,dotted] (0,2) -- (7,2);
\end{tikzpicture}\begin{center}
first
\end{center}
 & \hspace{1cm} & % SHAPE: rect
\begin{tikzpicture}
% *** RECTANGLE FOR ROW 1, COLUMN 2 *******
\draw (0,0) rectangle (4,3);
\draw [red,dotted] (0,1.5) -- (4,1.5);
\end{tikzpicture}\begin{center}
second
\end{center}\\
\end{tabular}
\end{center}
\end{document}

更新:
我之前應該要提到這一點。實際上您不需要在列說明符>{\centering\arraybackslash}之前m。預設情況下,列m說明符會將每個條目在儲存格內垂直和水平居中,與行的其餘部分成比例。因此,如果您只有tikz圖片,它們將始終在單元格中居中對齊(水平和垂直)。然而,圖片下的文字可能會引起問題。如果文字走不同的行,因為整個內容垂直居中,那麼圖片就會偏移。為了使圖片重新居中對齊,需要使下面的文字佔據相同的行(例如空白行)。這是一個例子:
\documentclass[a4paper, 10pt]{scrartcl}
\usepackage{soul}
\usepackage[cm]{fullpage}
\usepackage{array}
\usepackage{tikz}

\begin{document}
\thispagestyle{empty}
\begin{center}
% Table for row 1, which has 2 columns.
\begin{tabular}{|m{7cm}|l|m{4cm}|}
% SHAPE: rect
\begin{tikzpicture}
% *** RECTANGLE FOR ROW 1, COLUMN 1 *******
\draw (0,0) rectangle (7,4);
\draw [red,dotted] (0,2) -- (7,2);
\end{tikzpicture}\begin{center}
first
\end{center}
 & \hspace{1cm} & % SHAPE: rect
\begin{tikzpicture}
% *** RECTANGLE FOR ROW 1, COLUMN 2 *******
\draw (0,0) rectangle (4,3);
\draw [red,dotted] (0,1.5) -- (4,1.5);
\end{tikzpicture}\begin{center}
second picture have long text under the picture
\end{center}\\
\end{tabular}
\end{center}
The second example centered the picure again by putting a empty line below first.
\begin{center}
%Table for row 1, which has 2 columns.
\begin{tabular}{|m{7cm}|l|m{4cm}|}
% SHAPE: rect
\begin{tikzpicture}
% *** RECTANGLE FOR ROW 1, COLUMN 1 *******
\draw (0,0) rectangle (7,4);
\draw [red,dotted] (0,2) -- (7,2);
\end{tikzpicture}\begin{center}
first\\\null%put a manually line break and empty contents for the new line
\end{center}
 & \hspace{1cm} & % SHAPE: rect
\begin{tikzpicture}
% *** RECTANGLE FOR ROW 1, COLUMN 2 *******
\draw (0,0) rectangle (4,3);
\draw [red,dotted] (0,1.5) -- (4,1.5);
\end{tikzpicture}\begin{center}
second picture have long text under the picture
\end{center}\\
\end{tabular}
\end{center}
\end{document}
輸出:
