


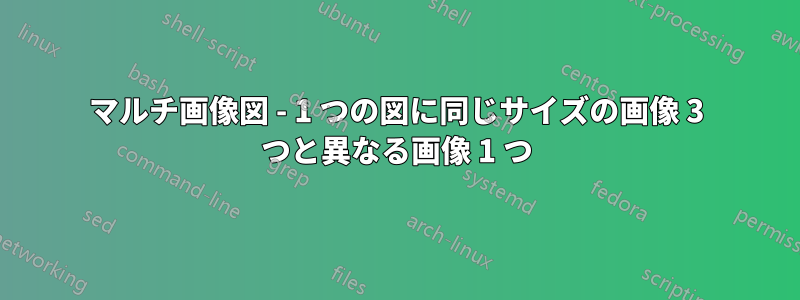
現在、複数の画像で図を作成しようとしています(添付画像を参照)。最初の 3 つの画像で部分は簡単に作成できましたが、添付画像に示した方法では、凡例である 4 番目の画像を追加できませんでした。
手伝ってくれる?

\begin{figure}[H]
\centering
\begin{subfigure}{0.48\textwidth}
\centering
\includegraphics[width=\linewidth]{figures/image1.png}
\caption{image 1}
\label{image 1}
\end{subfigure}
\hfill
\begin{subfigure}{0.48\textwidth}
\centering
\includegraphics[width=\linewidth]{figures/image2.png}
\caption{image 2}
\label{image 2}
\end{subfigure}
\hfill
\begin{subfigure}{0.48\textwidth}
\centering
\includegraphics[width=\linewidth]{figures/image3.png}
\caption{image 3}
\label{image 3}
\end{subfigure}
\caption{Multiple images}
\label{Multiple images}
\end{figure}
答え1
コンテンツを下に移動するには、空行を追加するか\par、そのコンテンツの前に (空行と同等)を置く必要があります。また、垂直方向のスペースを制御したい場合は、figure 環境内で変更できます\parskip。以下の例を参照してください。
完全な例:
\documentclass{article}
\usepackage{graphicx}
\usepackage{subcaption}
\usepackage{kantlipsum}

% \usepackage{showframe}
% \renewcommand*\ShowFrameLinethickness{0.2pt}
% \renewcommand*\ShowFrameColor{\color{blue}}


\begin{document}
\kant[1][1]

\begin{figure}[tbh]
    \setlength\parskip{\baselineskip}%
    \setkeys{Gin}{width=\linewidth}%
    \centering
    \begin{subfigure}{0.48\textwidth}
        \includegraphics{example-image}
        \caption{image 1}
        \label{image 1}
    \end{subfigure}%
    \hfill
    \begin{subfigure}{0.48\textwidth}
        \includegraphics{example-image}
        \caption{image 2}
        \label{image 2}
    \end{subfigure}

    \begin{subfigure}{0.48\textwidth}
        \includegraphics{example-image}
        \caption{image 3}
        \label{image 3}
    \end{subfigure}

    \includegraphics[width=0.75\linewidth, height=1cm]{example-image-a}
    \caption{Multiple images}
    \label{Multiple images}
\end{figure}

\kant[1][3]
\end{document}

編集。いくつかのコメント
\centering画像は親ボックスの幅全体に広がるため、各 env 内は必要ありませんsubfigure。- の行は
\setkeys{Gin}{width=\linewidth}後続のすべての画像の幅を設定するため、繰り返す必要はありません。 - この場合、見た目には違いはありませんが、前の行を次のように終わらせない限り、新しい行は空の水平スペースを追加することに注意してください。
%
最後の点を詳しく説明するために、もう一度例を考えてみましょう。
\begin{...}
...
\end{...} <--- empty horizontal space
\hfill
\begin{...}
...
\end{...}
LateXは最初のenvと2番目のenvの間にスペースを追加します。その後、を使用します\hfill。これですべてが期待どおりに整列します。ただし、2つのボックスをくっつけたいとします。次のコードでは、間に空白が残ります。
\begin{...}
...
\end{...}
\begin{...}
...
\end{...}
このコードは
\begin{...}
...
\end{...}% <--- no empty space added
\begin{...}
...
\end{...}
また、パラメータなしのマクロ sa\hfillは\ceteringスペースを消費するため、上記は%必要ありません。一方、このようなマクロの後にスペースを強制したい場合は、 の代わりに空の括弧 を追加{}し\mymacro{}ます\mymacro。